
Are you looking for the best tips to grow your email list? As a business owner, you’ll need a list of email addresses to share news, deals, content, and more. You need real subscribers who interact with you and take action on your emails.
In this article, we’ll share 18 tips to help you easily get more email subscribers.
Before getting started, we recommend using an email marketing service such as AWeber, MailChimp, Drip or Constant Contact for your email campaigns.
All set? Great. Here are our favorite tips, based on our personal experiences, to easily grow your email list:
1. Create an Exit-Intent Popup
You may have good traffic, but did you know that over 65% of those visitors will never come to your blog again?
It’s not because they don’t want to visit again or that your blog isn’t attractive enough. The real reason is they may never be able to find you again. However, if you make them subscribe to your email list, then they’ll definitely hear from you and visit your blog more often.
Having a subscription box is great, but what will you do about those visitors who’re leaving without subscribing?
What you need is Exit-Intent Technology. It works intelligently to display an opt-in popup to the users who’re about to leave your blog.

To create an Exit-Intent popup, you’ll need to use OptinMonster, the best lead generation tool on the market. Simply sign up for the free-trial of OptinMonster and you can upgrade it as needed.
First, you’ll need to create a campaign in OptinMonster. After that, head over to the Display Rules » When should the campaign appear? » On Exit-Intent page and activate display rule by clicking on the status toggle.
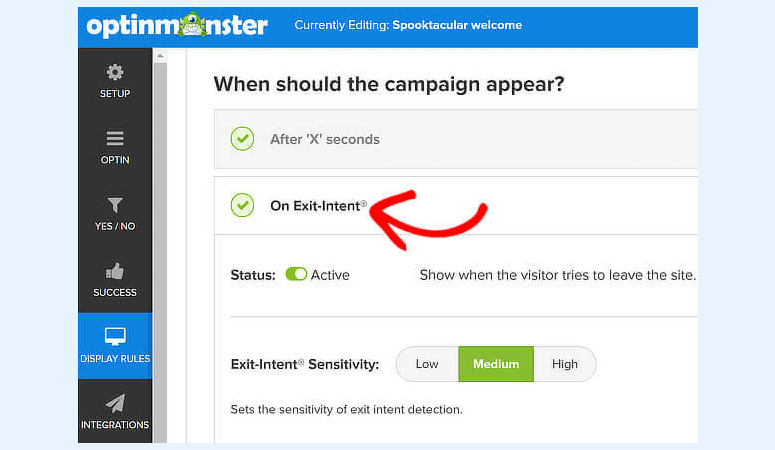
Upon creating an Exit-Intent popup, you’ll need to make it attractive and beneficial so visitors want to share their email. Try making them an offer they can’t refuse. Which brings us to…
2. Share Discounts and Deals
An optin can keep the visitor from closing the page by showing them, in an eye-catching way, what you’ve got to offer. Give them exclusive discounts and deals in return for their email address.
Check out how this restaurant’s site is tempting their visitors by offering a free steak meal in exchange for signing up:
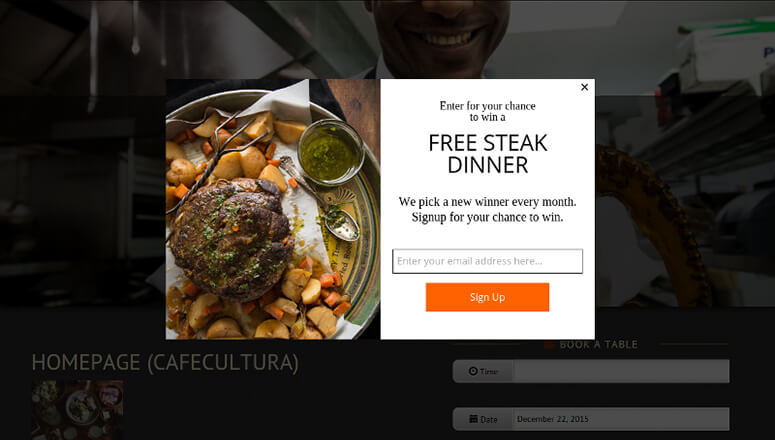
You can add discounts and deals according to your niche to make it relevant to your blog. It’s an amazing way to convert abandoning visitors into subscribers.
With the unlimited customization options of OptinMonster, you can easily add an image and text in your Exit-Intent popup to increase your email list.
3. Create a 2-Step Optin
Wondering what a 2-step optin is?
It’s a simple technique to make your visitors sign up for your mailing list with a little psychological punch. You can create this type of optin using OptinMonster.
Once your campaign is ready, you’ll need to go to Display Rules » When should the campaign appear? settings and visit the MonsterLink™ (On Click) tab to activate it.
After that, you can copy the code and paste it into any page or post on your blog.
It will display the campaign with a button. Once the users click on the button, they will see your campaign and drop their email address to finish the process.
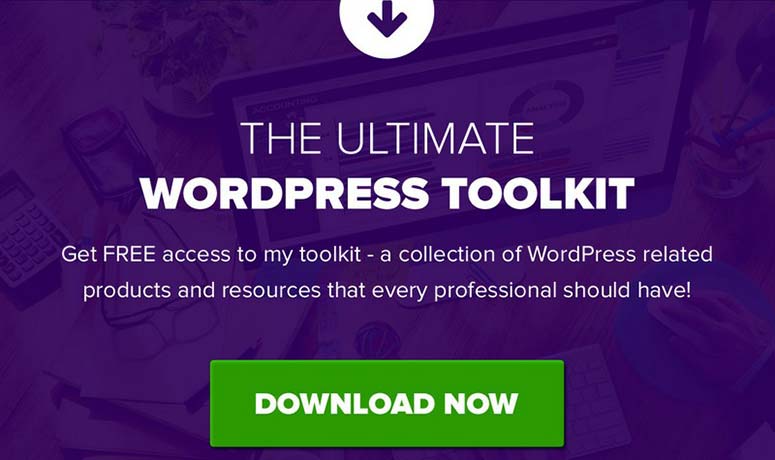
4. Add an Attractive Welcome Message

The first impression of your blog should be interesting and eye-catching. Sometimes, a powerful and attractive welcome message can be a great source of getting email subscribers.
This is especially helpful when you publish a guest article on a renowned blog and wanted to welcome those readers to your blog.
You can also offer a good deal in your welcome message, and use a 2-step optin, so visitors can subscribe to your mailing list once you’ve piqued their interest.
5. Add an Optin and a CTA at the Bottom of Posts
Those visitors who read your blog posts until the very end are especially important. They like your content so much that they didn’t bounce in the middle of the article.
Now, it’s the right time to get them converted from a passing visitor into a regular reader. You can add a CTA at the end of your post to ask readers to enter their email.
OptinMonster allows you to add an after-content widget for your readers to subscribe directly from your blog. That way, you won’t need to manually add the campaign to each blog post.
6. Create Lead Magnets
A lead magnet is similar to an exchange offer for the visitors of your blog. You give them a free and useful resource, and they give you their email addresses. It’s a proven technique and helps grow your email list.
But what if you have nothing to offer to your visitors? What if you don’t have an eBook or a free checklist?
Don’t worry! Here’s an easy solution: gather together your most popular blog articles and convert them into a PDF file. Simply visit Print Friendly and add the URL of one of your articles. Click on the PDF button and download it.
You now have a lead magnet to offer to your visitors and you can create as many as you need. Simple!
Next, you’ll need to go to OptinMonster’s campaign builder and visit the Success tab. From there, you’ll need to open Blocks in the left-hand menu. Add a button block to the success optin and name it Download Now.
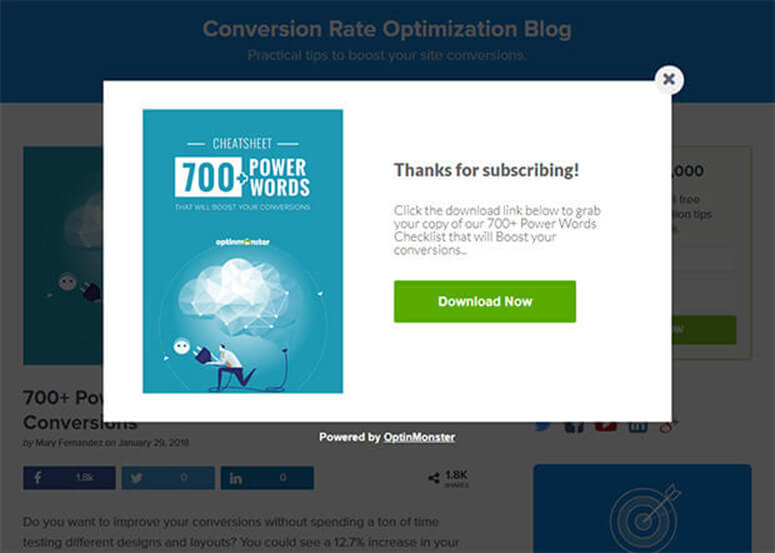
After that, go to Button Action to add the lead magnet URL. It will allow your users to download the resource right after they enter their email address.
For more information, check out our post on how to deliver a lead magnet more effectively.
7. Add Content Blocking
Content blocking is another amazing way to grow your email list fast. You can block off part of the content, and ask readers to add their email address and subscribe to continue reading the post.
This can be done with, you guessed it: OptinMonster.
To begin, you’ll need to figure out which are the most popular articles on your blog with most traffic. For WordPress users, MonsterInsights does a great job at displaying the posts with highest traffic in your dashboard.
If you’re not using WordPress, then simply go to Google Analytics and click on Behavior » Site Content » Landing Pages. It will display your posts with the highest traffic.
Next, you’ll need to create an after-post or inline campaign. In the campaign builder settings, you’ll need to go to Optin » Content Blocking.
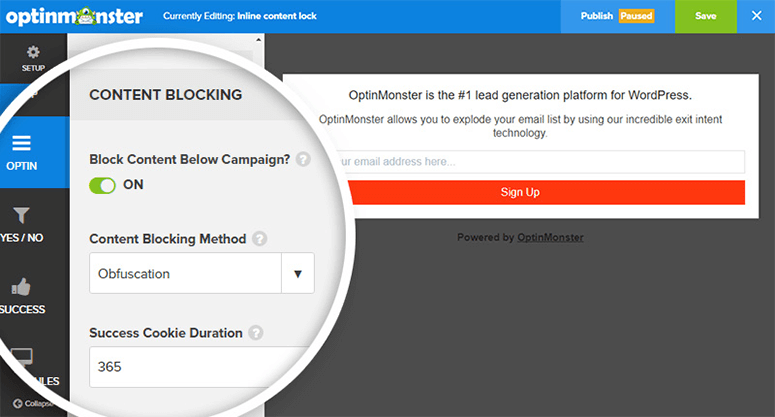
Here you can define how you want to block the content for your readers.
After the visitors subscribe, they’ll be able to read the full article and your mailing list will grow.
8. Use Color Variations

Colors play an important role in attracting visitors to your campaign. The colors of the popup, signup button, image, text, etc are crucial. Different colors leave a different effect on the viewer.
For OptinMonster users, it’s very easy to change the colors of almost every element used in the campaign. You only need to select the element and it will display the editing option on the left side. It allows you to select any color for your elements with the powerful color picker tool.
It depends on the context of your optin form. Make sure to choose the colors wisely and make your optin interactive.
9. Use Trigger Words for Buttons
You’ll need to add valuable text for visitors on your CTA buttons. Use of personalized words can be highly attractive.
For example, you should use “Download My eBook” instead of “Download eBook”, or “Start My Free Trial” instead of “Start Free Trial”.
These are just a couple basic examples for creating more personalized CTA buttons for visitors. If you’re still not sure about the text, you can A/B split test it with multiple variations on your optin forms.
10. Add Testimonials in Optin and CTAs
Have you ever used your testimonials for anything other than simply adding them to a testimonials page?
You can display these testimonials in your campaigns and optin forms for new visitors to see what other users have said about you. It’s a workable method and the benefit is simple: grow your email list.
Don’t have enough testimonials yet? You can also use quotes from your clients that you’ve received in appreciation emails, or a Tweet praising your work. Use anything that says something good about you, or your products, to reassure your visitors… and they’ll quickly become subscribers!
11. Build a Landing Page
A landing page is a simple page of your website like all other pages. However, you’ll add your targeted email campaign on this page. When your visitors land here, they’ll find it important to subscribe before they proceed further on your website.
A landing page is built to ensure that your audience should see focused content (i.e your email campaign). It’s a tested and successful method to grow your email list.
To quickly build a landing page, you can use a WordPress landing page plugin on your site.
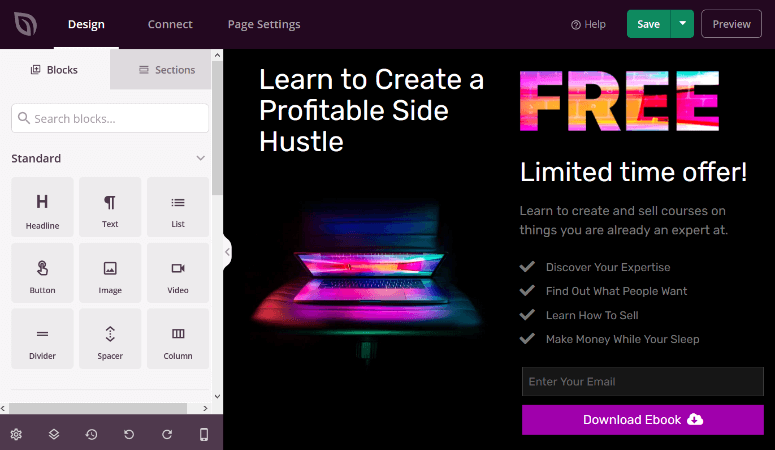
We recommend using SeedProd to create your landing page. SeedProd is the easiest landing page builder plugin on the market.
It offers hundreds of professionally designed landing page templates so you can get started in no time. Simply drag and drop landing page blocks like images, headings, email optin forms, countdown timers, and much more, to customize your landing page.
You can link this landing page in your paid social media promotions, emails, referral sources, and more.
Check out how to create a landing page for a step-by-step tutorial. You can also use Thrive Architect to build stunning landing pages.
12. Activate Your Social Accounts
You may spend a lot of time on multiple social media channels to interact with your connections.
Why don’t you use that time to market your campaign and grow your mailing list?
You don’t need to spam your campaign link on social media channels. The right way is to help out people who are looking for a solution to their problems, and their issues should be relevant to your niche.
Once you’re in the groups, people will connect with you automatically and they’ll need more from you. It’ll be the right time to get them subscribed to your mailing list.
13. Advertise Your Campaign
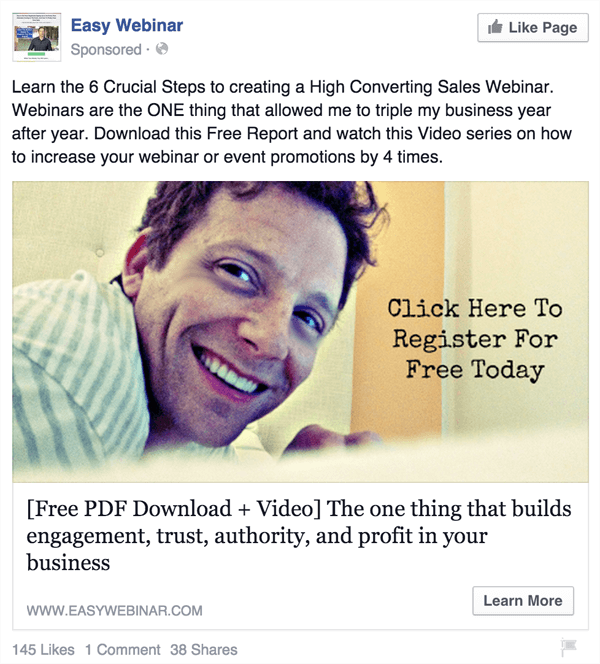
Once you’re actively helping people on Facebook and other social media platforms, it’s time to promote your campaign on social channels.
You should plan a paid promotion for your campaign on social media platforms and monitor the increase in your subscribers list.
14. Hide the Unnecessary Elements
You may have a long sidebar with a lot of options for visitors. However, the visitors may not be interested in many of those fancy sidebar widgets.
Simply focus on your main objective: to grow your email list. The more distractions you add, the fewer chances you’ll have of getting subscribers. You’ll need to hide all the fluff and display your optin visibly for the readers to enter their email and join your mailing list.
15. Use Subscription Checkbox in Contact Forms
If your website is built on WordPress, then you can use the WPForms plugin to add a subscription checkbox with your contact form. WPForms integrates with popular email service providers like AWeber, MailChimp, and Constant Contact.
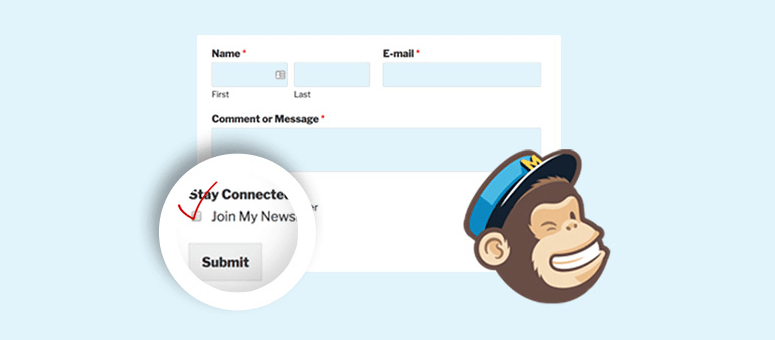
It’s the easiest way for your visitors to subscribe to your mailing list while submitting a contact form.
16. Add Campaign Link on Thank You Pages
When the visitors add comment on your site, you can redirect them to a thank you page. On this page, you can display the subscription box using the Yoast Comment Hacks plugin in WordPress.
Since they made the effort of getting in touch with you, there’s a fair chance they’ll sign your subscription form.
17. Share Links to Other Blogs
There are multiple blogs with a lot of traffic who offer to share interesting campaigns, like yours, with their audiences. You can submit your campaign to these blogs. Once accepted, you may see a spike in your mailing list.
You can also write quick guest posts about your campaign and share it on the blogs that are relevant to your business niche. That way, you can deliver your campaign to different audiences.
18. Keep it Simple
Last but not least.
Keep your campaign simple for visitors as it will help them quickly sign up and your mailing list will grow.
We hope this guide helped you to learn how to grow your email list. You may also want to check our guides on best email marketing services for small business and how to create email newsletter fast.